Ellen Editorial Team
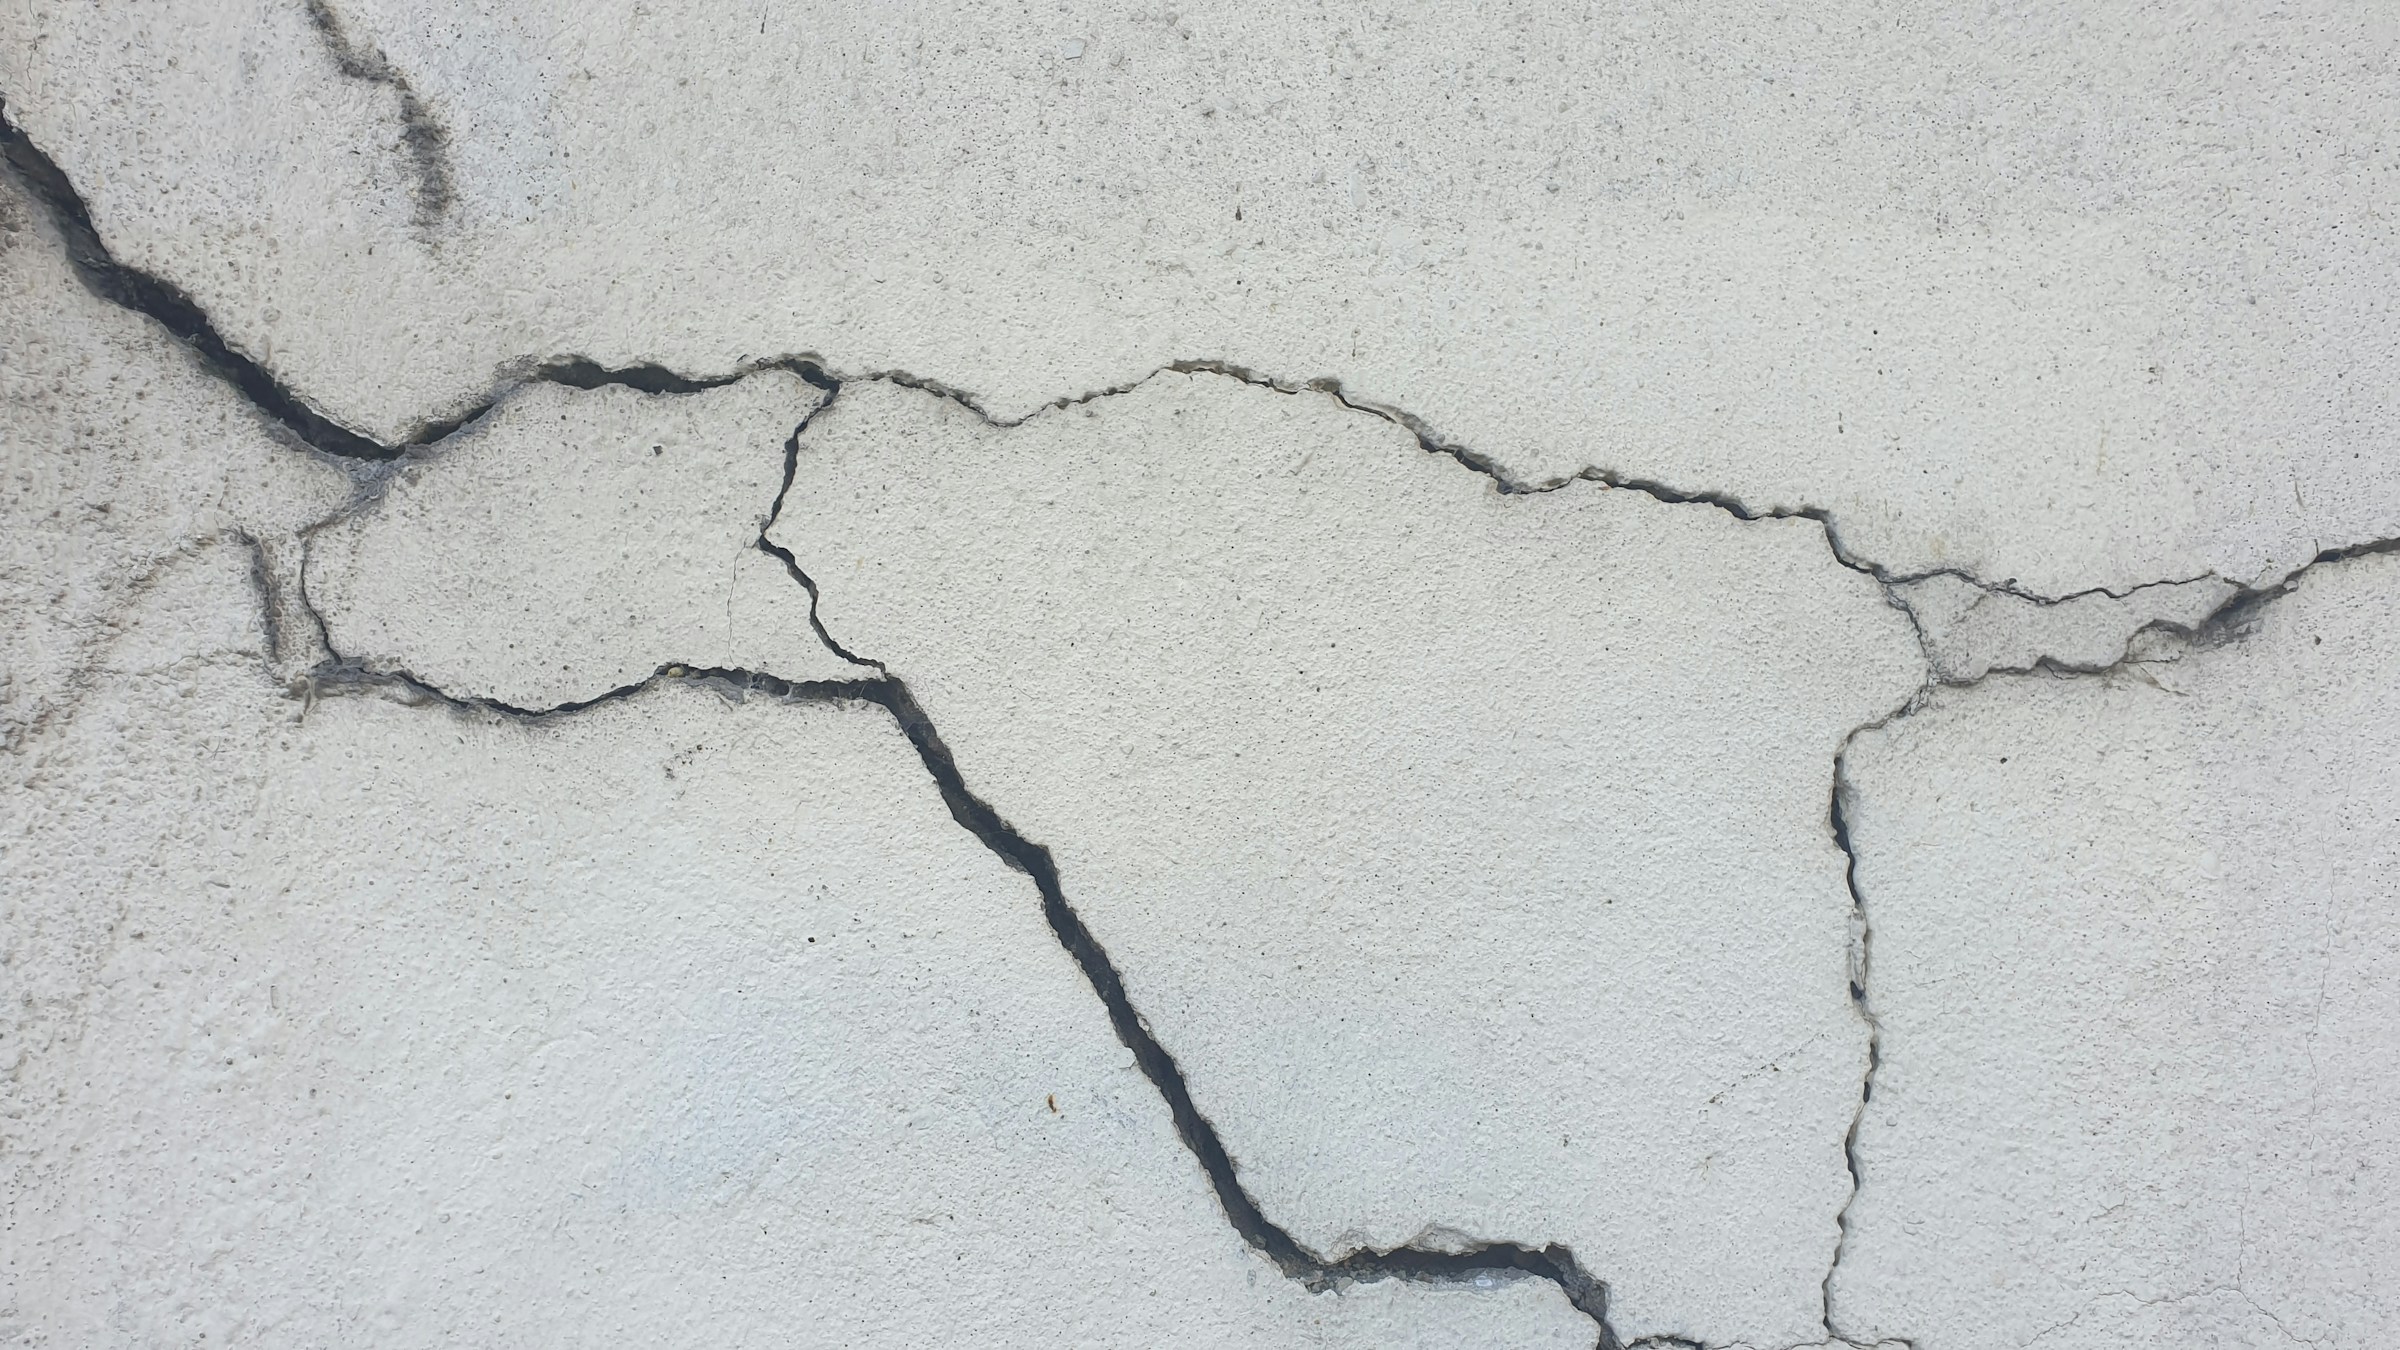
Small cracks in the wall are one of those jobs people keep putting off. Calling a painter for a hairline crack feels like overkill, but leaving it there bugs you every time the morning light hits the wall. The good news is you can fix it yourself in an afternoon with a few cheap supplies. You don’t need to be a handyman either.
Before you start: is it really a small crack?
This method is for cosmetic cracks, meaning thin lines in paint, plaster, or drywall that aren’t growing and have no water stains around them. If the crack is wider than about 5 mm, keeps getting bigger, or shows damp patches, find the cause first. Filling it won’t solve a deeper problem.
What you’ll need
- Flexible, paintable caulk or ready-mix wall filler
- A putty knife (a 2 to 3 inch one works well)
- Fine sandpaper (120 to 180 grit)
- Joint tape (only for longer drywall cracks)
- A damp cloth or sponge
- Primer and matching paint
- A small brush or roller
- Painter’s tape and a drop cloth
Total cost is usually well under what one hour of a painter’s time would be.
Step 1: Clean out the crack
Run the corner of your putty knife along the crack and scrape out any loose paint, dust, or crumbling plaster. If the edges are flaking, scrape until you reach solid material. Then wipe the area with a slightly damp cloth and let it dry. Filler won’t grip a dusty surface, and that’s the most common reason repairs fail.
Step 2: Widen it slightly (yes, really)
This sounds backwards, but hairline cracks are hard to fill properly. Drag the edge of your knife along the crack to open it just a little into a shallow V shape. That gives the filler something to hold onto instead of sitting on the surface.
Step 3: Fill the crack
For thin cracks, flexible caulk works best because it moves slightly with the wall instead of splitting again. Press the caulk into the crack, then smooth it with a damp finger or the putty knife. Wipe away the extra right away.
For slightly wider cracks, use wall filler. Press it in firmly with the putty knife, pulling across the crack rather than along it so it packs in tight. Leave it a touch raised, because filler shrinks a little as it dries.
Step 4: Tape longer cracks
If the crack is long, say more than 30 cm, or runs along a seam in drywall, put a layer of filler, press joint tape over it, and cover it with another thin coat. The tape holds the wall together and stops the crack from reopening in the same place. Feather the edges outward so there’s no visible ridge.
Step 5: Let it dry completely
Drying time depends on the product and how thick you applied it. Caulk can be ready in a couple of hours, while filler may need several hours or overnight. Rushing this step is the second most common reason repairs show through the paint. If you’re unsure, wait a bit longer.
Step 6: Sand it smooth
Once dry, lightly sand the patch with fine sandpaper until it blends with the wall. Use gentle circular motions and run your hand over it. If you can feel the edge, keep going. If the filler shrank and left a dip, add a second thin coat, dry it, and sand again.
Wipe off the dust with a cloth before moving on.
Step 7: Prime and paint
Don’t skip primer. Fresh filler absorbs paint differently from the rest of the wall, and without primer you’ll see a dull patch even after painting. Dab primer over the repaired spot, let it dry, then paint.
For the best match, paint the whole section of wall, corner to corner, instead of just the patch. Old paint fades over time, so a small touch-up often shows up as a slightly different shade.
Common mistakes to avoid
- Using hard filler on a moving crack. It will crack again within months. Flexible products last longer.
- Skipping the cleaning step. Dust and loose paint make the repair peel.
- Applying one thick layer. Thin coats dry better and sand easier.
- Painting over damp walls. If the wall is damp, the paint will bubble. Fix the moisture first.
- Forgetting primer. The patch will always show through.
Will the crack come back?
Sometimes. Houses keep moving with the seasons, so a crack in a spot with lots of movement, like above a door frame, may reappear in a year or two. If it comes back in the same place, it’s worth checking for a cause such as humidity swings, settling, or a leak. A repeating crack is the wall telling you something.
Final thoughts
Fixing a small wall crack is one of the easiest repairs in a home, and it makes the room feel cleaner right away. Take your time with the prep and sanding, because that’s where the finish is decided. Done properly, nobody will ever know the crack was there.