Ellen Editorial Team
Introduction
Planning a home improvement project can feel overwhelming, especially when you have several rooms to update, a limited budget, or multiple contractors to coordinate. Whether you are renovating a kitchen, upgrading a bathroom, improving your living room, or making changes to your home’s exterior, having a clear plan can make the entire process easier.
Learning how to plan a home improvement project from start to finish helps you avoid unnecessary expenses, organize your priorities, choose suitable materials, and complete the work more efficiently.
A successful renovation does not happen by accident. It requires careful planning, realistic budgeting, proper scheduling, and attention to detail. In this guide, you will learn the essential steps to organize your next home improvement project and achieve better results.
1. Identify Your Home Improvement Goals
The first step is deciding exactly what you want to improve. Walk through your home and identify areas that need repairs, upgrades, or a completely new appearance.
Some common home improvement projects include:
- Kitchen remodeling and cabinet upgrades
- Bathroom renovation and fixture replacement
- Living room improvements
- Bedroom remodeling
- Flooring and wall painting
- Roof and exterior repairs
- Better lighting and storage solutions
- Energy-efficient home upgrades
Separate essential repairs from optional decorative improvements. Problems involving water damage, electrical safety, plumbing, or structural issues should generally receive priority.
Having clear goals will help you make better decisions throughout the project.
2. Set a Realistic Home Improvement Budget
Your budget determines which improvements you can reasonably complete. Before purchasing materials or hiring professionals, estimate the total cost of the project.
Include the following expenses:
- Building materials and supplies
- Contractor and labor charges
- Tools and equipment
- Fixtures and furniture
- Delivery and transportation
- Permits and inspection fees, where required
- Waste removal and cleanup
It is also wise to keep a contingency fund for unexpected expenses. Renovation work can reveal hidden problems such as damaged plumbing, outdated wiring, or moisture behind walls.
Compare prices from different suppliers and contractors before making major purchases. A detailed budget can help prevent financial surprises and unnecessary spending.
3. Research Design Ideas and Create a Project Plan
Once your goals and budget are clear, start researching design ideas that match your home’s style and practical requirements.
You can explore home improvement websites, interior design magazines, renovation photographs, and professional portfolios for inspiration.
Create a mood board containing:
- Preferred wall colors
- Flooring materials
- Furniture styles
- Lighting fixtures
- Cabinet designs
- Decorative elements
- Material samples
Next, prepare a written project plan. Include the work you want completed, materials required, estimated costs, and the order in which tasks should happen.
A clear plan makes it easier to communicate your expectations to contractors and suppliers.
4. Measure Your Space Before Buying Materials
Accurate measurements are essential for successful home renovation projects.
Measure walls, floors, ceilings, windows, doorways, and the areas where new furniture or fixtures will be installed.
For example, if you are replacing kitchen cabinets, incorrect measurements can lead to installation problems. Similarly, buying the wrong amount of flooring or paint can increase expenses and delay the project.
Record your measurements and keep them in one document. For complicated layouts, consider asking a qualified professional to verify the dimensions before ordering materials.
5. Decide Whether to Hire Contractors or Do It Yourself
Some home improvement tasks are suitable for DIY work, while others require professional knowledge and equipment.
Painting a bedroom, installing simple shelves, changing decorative hardware, or organizing storage may be manageable for homeowners with the right skills.
However, electrical work, structural modifications, major plumbing repairs, and complicated installations should be handled by appropriately qualified professionals.
Before hiring a contractor:
- Check their experience and previous projects.
- Request written estimates from multiple providers.
- Ask for references where available.
- Confirm the work included in the quotation.
- Discuss the expected completion date.
- Agree on payment terms and responsibilities.
Always check local licensing, insurance, and permit requirements where applicable.
6. Create a Realistic Renovation Timeline
A home improvement timeline helps you understand how long each stage may take.
The duration depends on the project’s size, material availability, contractor schedules, and unexpected complications.
A basic renovation schedule might look like this:
| Project Stage | Main Activities |
|---|---|
| Planning | Set goals and research ideas |
| Budgeting | Estimate expenses and compare prices |
| Preparation | Measure spaces and order materials |
| Hiring | Select contractors and confirm agreements |
| Construction | Complete repairs and installations |
| Finishing | Paint, decorate, and install accessories |
| Inspection | Review completed work and correct issues |
Avoid scheduling every activity too tightly. Allow extra time for material deliveries, inspections, and unexpected repairs.
7. Choose Quality Materials That Fit Your Budget
Choosing the right materials is important for durability, appearance, and maintenance.
Consider how frequently an area is used before selecting flooring, countertops, paint, cabinets, or fixtures.
For example, kitchens and bathrooms often require materials that can handle moisture, regular cleaning, and everyday use. Flooring in busy areas should be selected according to durability and maintenance requirements.
Compare material specifications, warranties, installation requirements, and long-term maintenance costs.
The most expensive option is not always the best choice. Look for materials that offer a suitable balance between quality, performance, and affordability.
8. Prepare Your Home Before Construction Begins
Proper preparation can reduce disruption and protect your belongings.
Before work starts:
- Remove furniture from the renovation area.
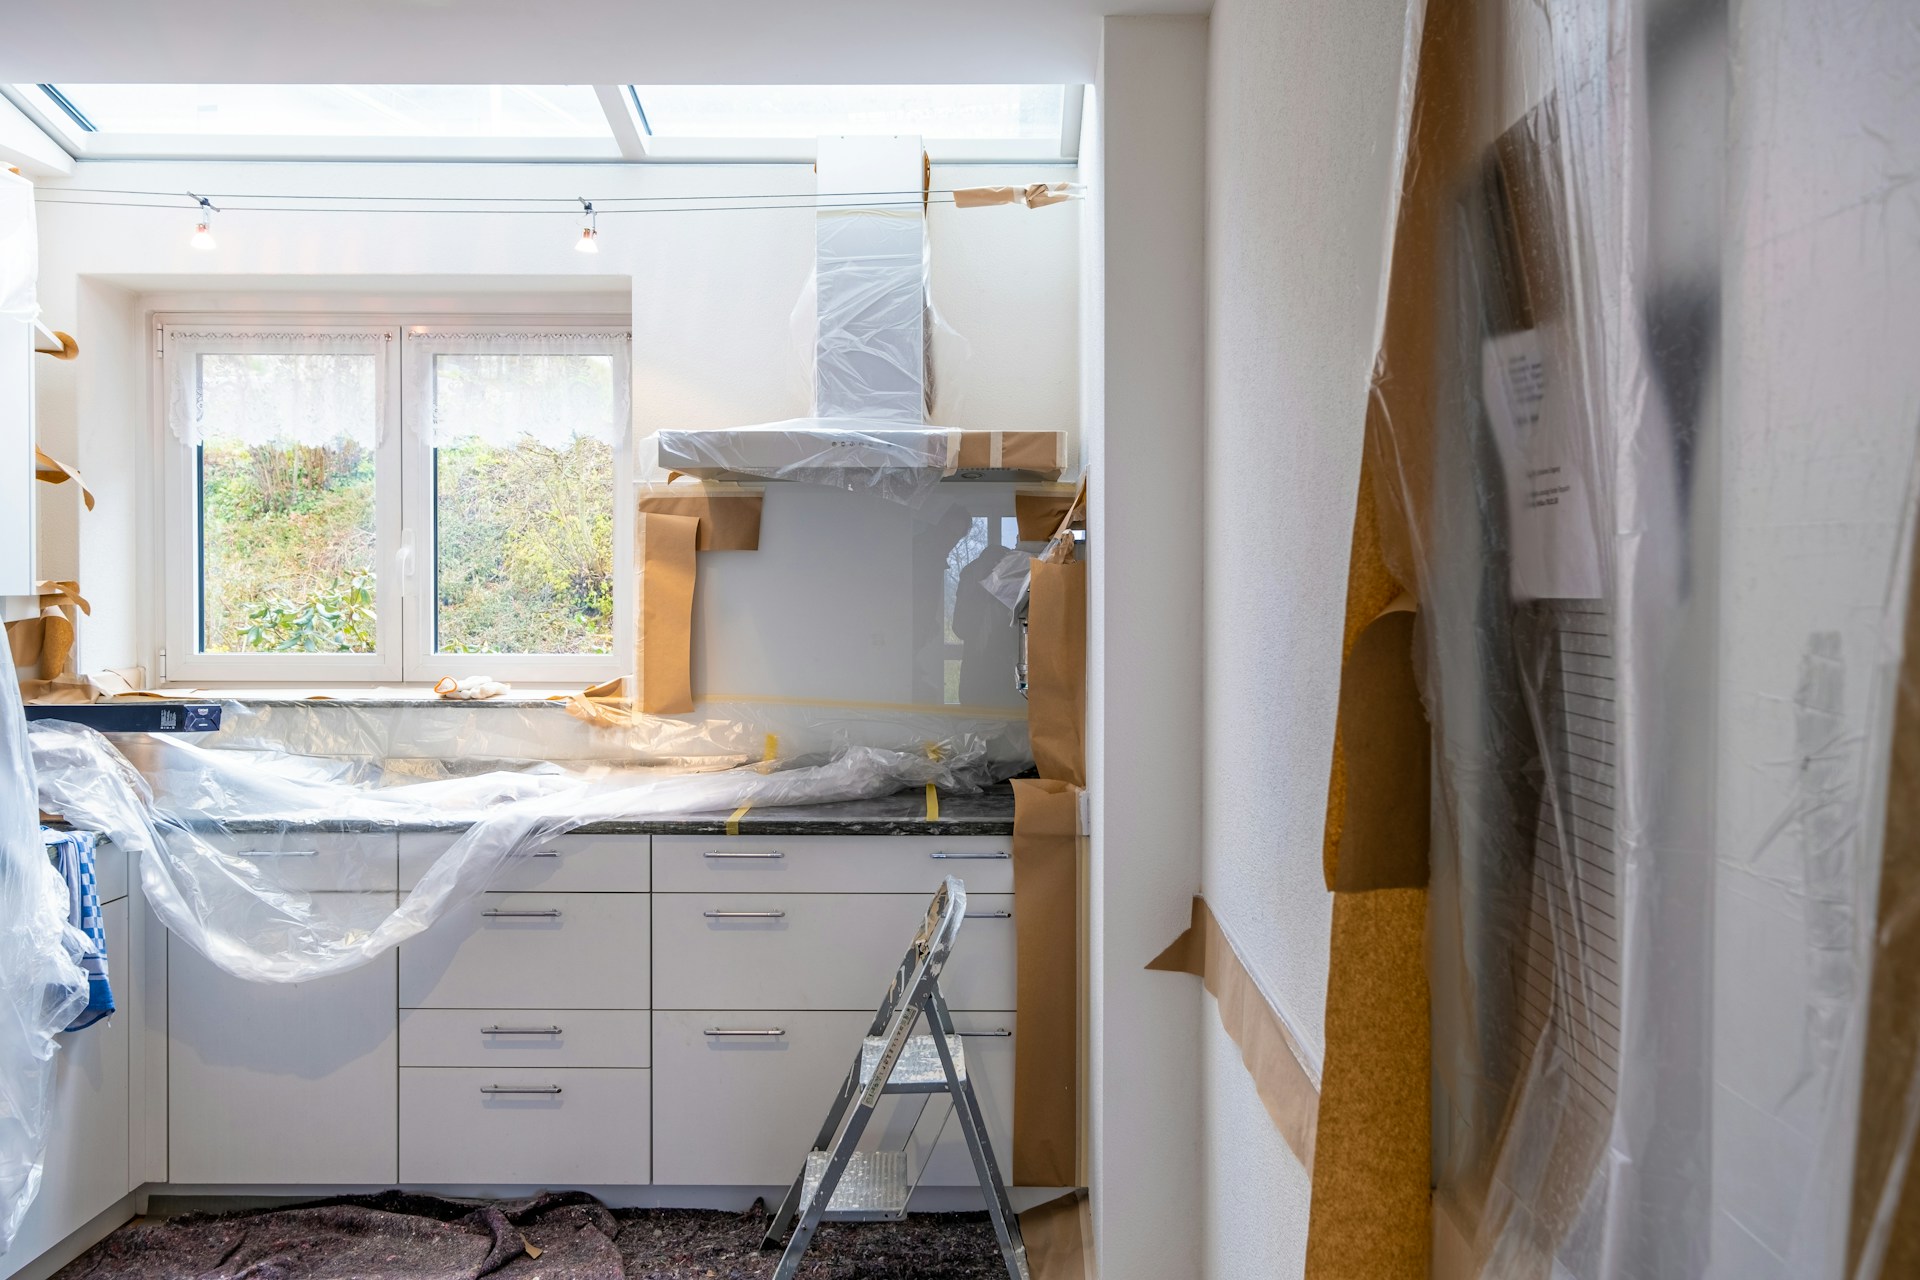
- Cover floors and nearby surfaces.
- Protect valuable items and electronics.
- Create a safe storage area for materials.
- Arrange temporary kitchen or bathroom facilities if necessary.
- Keep children and pets away from construction zones.
If the renovation affects essential areas, plan how your household will manage during the work.
Good preparation helps contractors work more efficiently and reduces the risk of accidental damage.
9. Monitor the Project Progress
Once construction begins, regularly review the work to ensure it follows the agreed plan.
Communicate with contractors about progress, material changes, delays, and additional costs. Keep records of important decisions and any changes to the original agreement.
Check that installations, finishes, and materials match the specifications you approved.
If you notice a problem, discuss it promptly rather than waiting until the project is nearly finished.
Regular communication helps prevent misunderstandings and makes it easier to address issues before they become expensive.
10. Inspect the Completed Work
When the renovation is finished, inspect the area carefully before considering the project complete.
Check the following:
- Walls and ceilings for visible damage
- Flooring for uneven surfaces
- Cabinets and doors for proper alignment
- Faucets and plumbing for leaks
- Electrical fixtures for correct operation
- Windows and doors for proper opening and closing
- Paint and finishing for missed areas
Ask the contractor to correct incomplete or defective work according to your agreement.
Keep copies of invoices, warranties, receipts, permits, and relevant installation documents for future reference.
11. Clean, Organize, and Decorate Your Updated Space
After construction and inspection, the final stage is preparing your home for everyday use.
Remove construction waste, clean surfaces, and organize furniture and accessories. Consider adding curtains, rugs, plants, artwork, and lighting to complete the new appearance.
Avoid overcrowding the renovated area with unnecessary decorations. A clean and balanced layout often makes a space feel more attractive and comfortable.
12. Evaluate the Results and Plan Future Improvements
After using your upgraded space for a few weeks, evaluate how well it meets your original goals.
Ask yourself whether the renovation improved comfort, functionality, storage, appearance, or energy efficiency.
You may identify small adjustments that could make the space even more practical.
Keep a record of completed work and future maintenance requirements. This information will help you plan your next home improvement project more confidently.
Common Home Improvement Planning Mistakes to Avoid
Even well-planned renovations can experience problems when important details are overlooked.
Here are some common mistakes to avoid:
Ignoring hidden repair issues: Always investigate visible signs of leaks, cracks, moisture, or structural damage before focusing on decorative changes.
Underestimating costs: Include labor, delivery, permits, and unexpected expenses in your budget.
Choosing contractors without research: Compare experience, references, written estimates, and project details.
Buying materials too early: Confirm measurements and specifications before ordering expensive products.
Making frequent design changes: Changes during construction can increase costs and delay completion.
Skipping the final inspection: Review the completed work and address problems before closing the project.
Conclusion
Understanding how to plan a home improvement project from start to finish can make renovation work more organized, affordable, and manageable. Start by identifying your goals, setting a realistic budget, researching design options, and creating a detailed timeline.
Choose suitable materials, work with qualified professionals when necessary, and monitor progress throughout the construction process. Finally, inspect the completed work and keep important project documents for future maintenance.
With careful preparation and practical decisions, you can transform your home into a more comfortable, functional, and attractive living space without unnecessary stress.
Frequently Asked Questions
1. How do I plan a home improvement project step by step?
Start by identifying your goals, setting a budget, researching design ideas, measuring the space, choosing materials, hiring contractors if needed, and creating a realistic timeline. Monitor the work and inspect the finished project.
2. What should I do first when planning a home renovation?
Begin by identifying essential repairs and deciding which areas need improvement. Address safety, structural, plumbing, electrical, and water-related problems before focusing on cosmetic upgrades.
3. How much should I budget for a home improvement project?
The cost depends on the size, location, materials, labor, and complexity of the renovation. Obtain multiple estimates and include additional funds for unexpected expenses.
4. Should I hire a contractor or complete home improvements myself?
Simple projects such as painting and installing basic shelves may be suitable for DIY work. Electrical, structural, and complicated plumbing projects should generally be handled by qualified professionals.
5. How long does a typical home improvement project take?
Small cosmetic upgrades may take a few days, while kitchen remodeling, bathroom renovations, and major structural projects can take several weeks or longer. The timeline depends on project complexity and material availability.
6. How can I avoid overspending during a home renovation?
Set a realistic budget, compare supplier prices, get written contractor estimates, prioritize essential work, avoid unnecessary design changes, and maintain a contingency fund.
7. What should I check before accepting completed renovation work?
Inspect the quality of materials, paint, flooring, fixtures, plumbing, electrical installations, and finishing. Make sure agreed repairs are complete and collect relevant warranties and invoices.