Ellen Editorial Team
Introduction
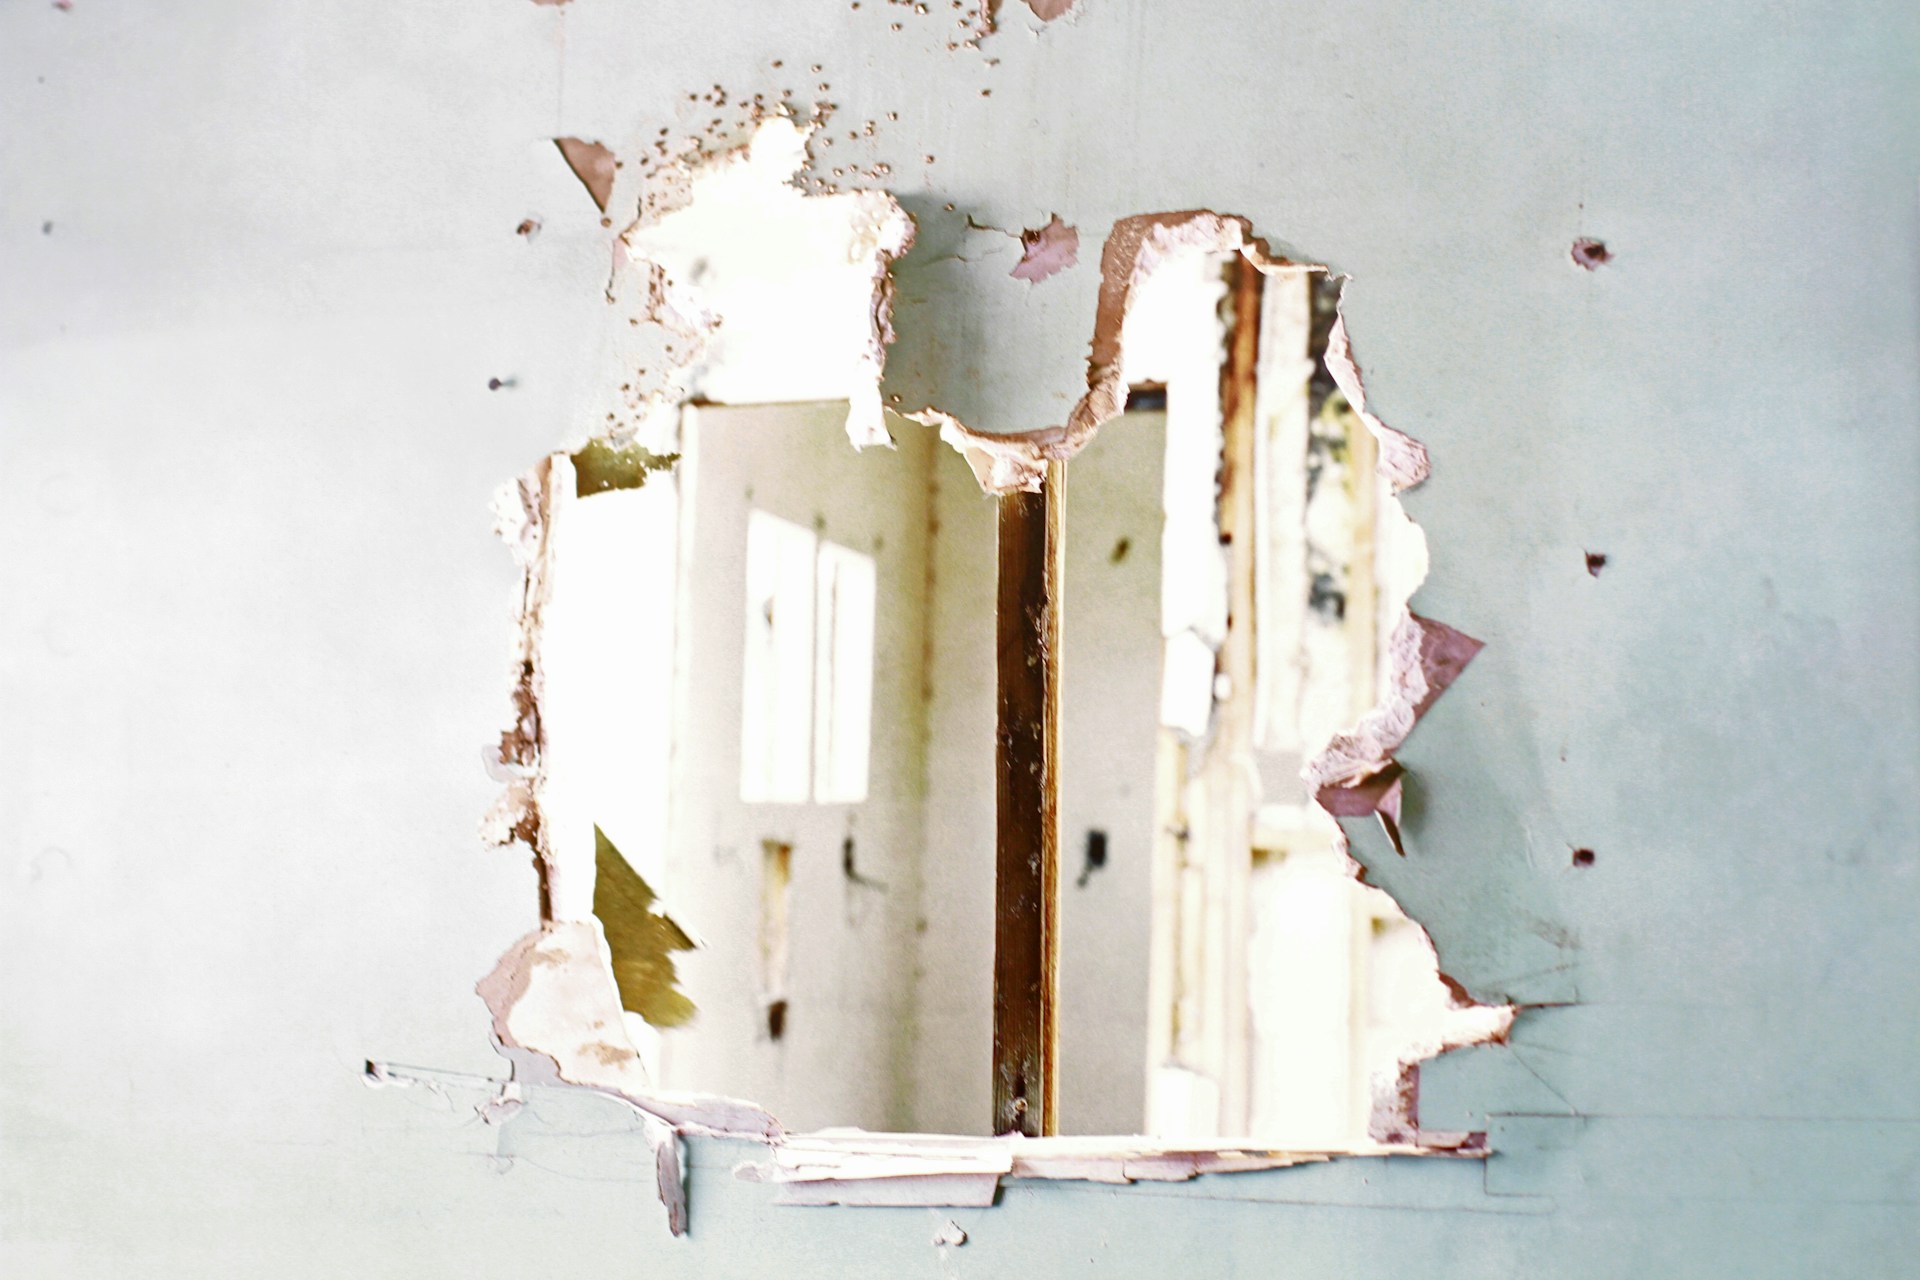
Small holes in drywall are common in many homes. They can happen when removing nails, screws, wall decorations, or furniture. Accidental bumps and everyday activities can also leave small holes that make walls look damaged.
The good news is that repairing these holes is usually a simple DIY project. You do not need expensive tools or professional experience to fix minor drywall damage.
Learning how to patch small holes in drywall can help you keep your walls smooth, clean, and attractive. With a few basic supplies and some patience, you can repair small holes and prepare the surface for painting.
1. Gather the Necessary Tools and Materials
Before starting the repair, collect everything you need. Having the right materials will make the process easier and help you achieve a smooth finish.
Here are some useful supplies:
- Drywall joint compound or lightweight spackle
- Putty knife
- Fine-grit sandpaper
- Clean cloth or sponge
- Primer
- Matching wall paint
- Small paintbrush or roller
For tiny nail holes, lightweight spackle is often sufficient. Slightly larger holes may require drywall joint compound and a different repair method.
2. Clean the Damaged Area
Start by examining the hole and removing loose drywall pieces, dust, or damaged material around its edges.
Use a dry cloth or a soft brush to clean the surface. If the edges are rough, carefully smooth them with fine-grit sandpaper.
Avoid removing more drywall than necessary. The goal is to create a clean surface so the repair material can stick properly.
3. Apply Spackle or Joint Compound
For small nail holes and minor screw holes, apply a small amount of spackle using a putty knife.
Press the material gently into the hole, making sure it fills the damaged area. Then smooth the surface by moving the putty knife across the wall.
For slightly larger holes, use a suitable drywall joint compound. Follow the product instructions and apply it in thin layers when necessary.
Avoid applying too much material at once because thick patches may take longer to dry and can become uneven.
4. Allow the Repair Material to Dry
After filling the hole, allow the spackle or joint compound to dry completely.
Drying time depends on the product, application thickness, temperature, and humidity. Some lightweight products dry quickly, while thicker repairs may need several hours or longer.
Always check the manufacturer’s instructions before sanding or applying another layer.
If the repair shrinks after drying, apply a second thin layer to make the surface level with the surrounding wall.
5. Sand the Patched Area Smooth
Once the repair material is completely dry, gently sand the patched area using fine-grit sandpaper.
Use light pressure and move the sandpaper carefully to avoid damaging the surrounding wall.
The repaired area should feel smooth and even when you run your hand over it.
Remove sanding dust with a clean, slightly damp cloth and allow the surface to dry before moving to the next step.
6. Apply Primer to the Repaired Area
Primer helps prepare the patched surface for paint and creates a more consistent finish.
Apply a thin coat of suitable wall primer over the repaired area. Allow it to dry according to the manufacturer’s instructions.
Skipping primer can sometimes cause the repaired spot to look different from the surrounding wall after painting.
7. Paint the Repaired Area
Once the primer is dry, apply matching wall paint using a small brush or roller.
Try to use the same paint color and finish as the existing wall. Apply the paint evenly and allow it to dry before deciding whether another coat is needed.
For the best appearance, feather the paint slightly into the surrounding area so the repair blends more naturally.
Common Mistakes to Avoid When Patching Drywall
Even small drywall repairs can look uneven if the work is rushed. Avoid these common mistakes:
- Applying too much spackle at once
- Failing to clean the damaged area
- Sanding before the compound is completely dry
- Using rough sandpaper that damages the wall
- Skipping primer before painting
- Choosing a paint color that does not match
- Painting over visible bumps or uneven surfaces
Taking your time at each stage can help produce a cleaner and more professional-looking result.
When Should You Call a Professional?
Small nail holes and minor drywall damage are usually manageable DIY projects. However, some wall damage requires professional attention.
Consider contacting a qualified professional if you notice large holes, extensive cracks, repeated water damage, soft drywall, or signs of mold.
If a hole is caused by a leak, electrical problem, or structural issue, address the underlying problem before repairing the drywall.
Conclusion
Learning how to patch small holes in drywall is a useful home maintenance skill. With basic supplies such as spackle, a putty knife, sandpaper, primer, and matching paint, you can repair minor wall damage without a complicated renovation.
Clean the area, fill the hole, allow the material to dry, sand it smooth, and finish with primer and paint. By following these simple steps, you can restore the appearance of your walls and keep your home looking well-maintained.
Frequently Asked Questions
1. What is the easiest way to patch small holes in drywall?
The easiest method is to clean the hole, apply lightweight spackle with a putty knife, allow it to dry, sand the surface, and finish with primer and paint.
2. Can I use toothpaste to fill small drywall holes?
Toothpaste is not recommended as a proper drywall repair material. It may shrink, crack, or fail to hold up over time. Use spackle or a suitable drywall compound instead.
3. How long does drywall patching take to dry?
Drying time depends on the product, thickness, temperature, and humidity. Small repairs may dry within a few hours, but always follow the manufacturer’s instructions.
4. Do I need to sand drywall after patching?
Yes. Light sanding helps remove bumps and creates a smooth surface for primer and paint. Make sure the repair material is completely dry before sanding.
5. Do I need primer after using spackle?
Primer is recommended because patched areas can absorb paint differently from the surrounding wall. Applying primer helps create a more consistent finish.
6. Can I paint directly over a drywall patch?
It is better to apply primer first. Once the primer dries, paint the repaired area with a matching wall color and finish.
7. Can I patch drywall holes without professional help?
Yes. Most small nail holes and screw holes can be repaired by homeowners using basic tools and materials. Larger holes or damage caused by moisture may require professional help.